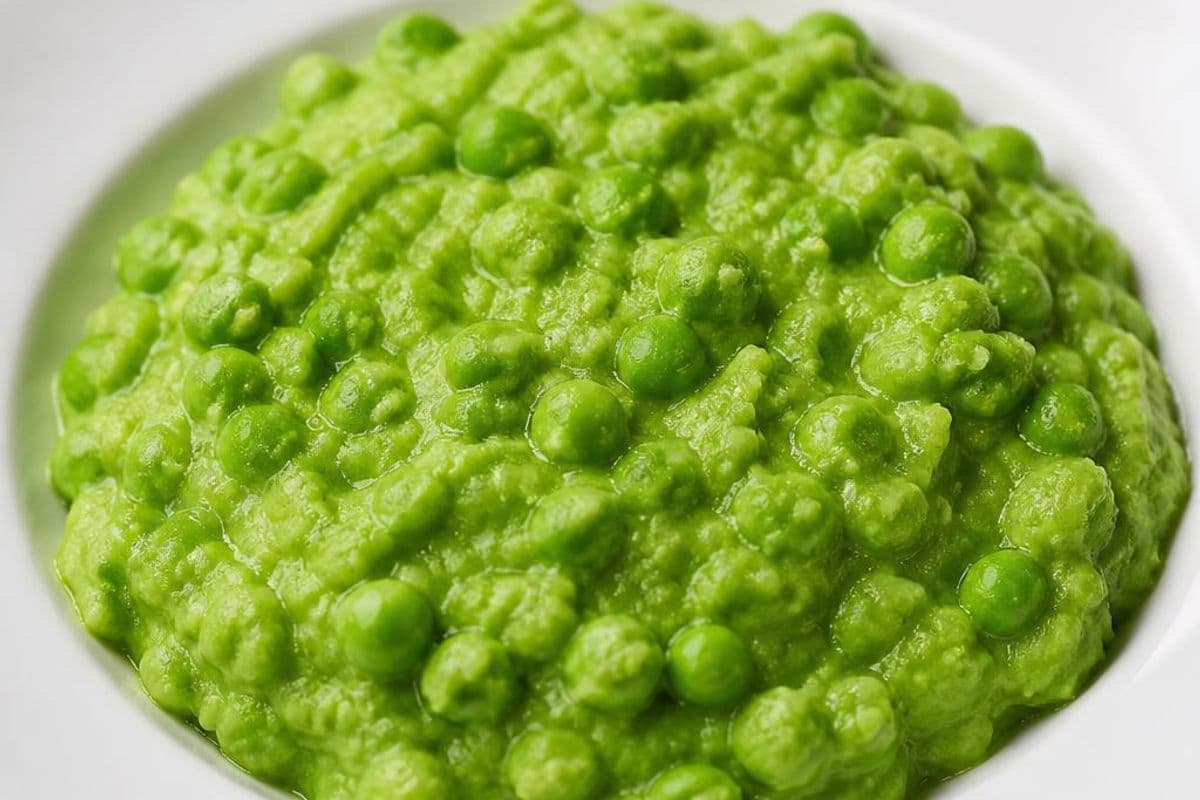
Classic British Mushy Peas (with quick frozen-pea shortcut)
Creamy, bright-green mushy peas — the perfect partner for fish and chips, pies or a cheeky supper on toast. Authentic when made from soaked marrowfat peas, but there's an honest quick route with frozen garden peas if you're short on time.
Mushy peas are Britain in a bowl: simple, comforting and infinitely more satisfying than their misleadingly humble name. Made properly from marrowfat peas they're pillowy and slightly starchy — the ideal foil for fried fish, a meat pie or a wickedly good chip shop supper.
If you don't plan ahead, there's a perfectly respectable shortcut using frozen garden peas that gives you the vivid colour and fresh flavour in under ten minutes. Read the recipe once and you'll never accept limp supermarket tubs again.
Ingredients
- 400 g dried marrowfat peas — Traditional route; soak overnight (see steps).
- 5 ml bicarbonate of soda (baking soda) — Add to soak water to soften marrowfat peas (careful — too much gives a soapy taste).
- cold water — Enough to cover peas by several centimetres for soaking and later for simmering (see steps).
- 700 ml vegetable stock or water — Use stock for extra flavour; use water if you prefer a neutral taste.
- 5 ml sea salt — Add at the end of cooking (do not salt early for dried peas).
- 0 ml freshly ground black pepper
- 15 ml extra virgin olive oil — Or 25 g unsalted butter for a richer finish (optional).
- 30 ml fresh mint — Finely chopped — optional but classic (minted mushy peas).
- 5 ml fresh lemon juice — Brightens the flavour; add to taste.
- 600 g frozen garden peas — Quick alternative to dried marrowfat peas — use if you don't want to soak/cook dried peas.
Equipment
- fine-mesh sieve
- stick blender or blender (or potato masher)
- medium saucepan
Instructions
If using dried marrowfat peas (authentic method): pick over the 400 g dried peas and discard any stones or shrivelled peas. Put the peas in a large bowl or container.
Add cold water to the bowl so the peas are covered by at least 5 cm. Stir in 1/2 tsp bicarbonate of soda. Cover and leave to soak overnight (8–12 hours) in the fridge or at cool room temperature.
Next day, pour the soaked peas into a fine-mesh sieve and rinse thoroughly under cold running water until the water runs clear. This removes excess bicarbonate and any discoloured water.
Transfer the rinsed peas to a medium saucepan. Add 700 ml vegetable stock or water — enough to cover the peas by about 2–3 cm. Bring to a gentle simmer over medium heat.
Reduce the heat to low so the peas are at a very gentle simmer (not a rolling boil). Cover with a lid slightly ajar and cook until the peas are falling apart and very soft — about 45–60 minutes. Stir occasionally and check that they don’t stick.
If you’re short on time, use the frozen-pea shortcut: bring 300 ml water or stock to the boil in a saucepan, add 600 g frozen garden peas and simmer for 5–8 minutes until tender. Skip to step 8.
When the peas (soaked or frozen) are soft, remove ~100 ml of the cooking liquid and set aside. Do NOT add salt until the peas are soft — salting early can toughen dried peas' skins.
Mash the peas to your preferred texture: for rustic mush, use a potato masher and mash directly in the pan; for silky mush, use a stick blender or briefly pulse in a blender with a little of the reserved cooking liquid until smooth but still bright green.
Stir in 1 tbsp olive oil (or 25 g butter), the chopped mint, 1 tsp lemon juice, then season with 1 tsp sea salt and 1/4 tsp black pepper. Taste and adjust seasoning or mint/lemon to preference.
Serve hot as a side with fish and chips, pies, mashed potato or spread on buttered toast. Leftovers keep well in an airtight container in the fridge for up to 3 days.
Tips
- Soak dried marrowfat peas overnight — it’s the quickest way to get the authentic creamy texture and saves hours of simmering.
- Rinse away the soak water very thoroughly to remove excess bicarbonate — leftover soda makes the peas taste soapy.
- If you want ultra-smooth mush, use a stick blender in short bursts and add the reserved cooking liquid a tablespoon at a time to avoid over-thinning.
- Make ahead: cooked mushy peas keep in the fridge for 3 days or freeze in portions for up to 3 months; defrost and refresh with a splash of hot water and a squeeze of lemon.
- Avoid salting early when cooking dried peas — add salt only after they’re soft to prevent tough skins.
Substitutions
dried marrowfat peas → 600 g frozen garden peas (quick method, less starchy)
Stays closeextra virgin olive oil / butter → 25 g unsalted butter (richer, not vegan)
Stays closefresh mint → 1/2 tsp dried mint (use sparingly; flavour is less bright)
Noticeably differentlemon juice → 1/2 tsp white wine vinegar (brighter acidity but slightly sharper taste)
Noticeably different
Nutrition
Per serving · estimated
- 160
- Calories
- 9 g
- Protein
- 24 g
- Carbs
- 4 g
- Fat
- 8 g
- Fibre
- 4 g
- Sugar
- 360 mg
- Sodium
FAQ
Can I use frozen peas instead of dried marrowfat peas?
Yes — frozen peas give a bright, fresh flavour and take about 5–8 minutes to cook. They lack the starchy creaminess of soaked marrowfat peas but are an excellent fast alternative.
Why are my mushy peas grey or dull?
Overcooking at high heat or blending too vigorously can darken peas. Use a gentle simmer and pulse briefly in a blender; add lemon right at the end to freshen the colour.
Can I salt the peas at the start?
For dried peas, don’t salt the cooking water until they’re soft — salt can toughen the skins. With frozen peas it’s less critical, but salting at the end gives better control.
How long will leftovers keep?
Refrigerate in an airtight container for up to 3 days, or freeze in portions for up to 3 months. Reheat gently with a splash of water or stock.
Community Photos
No photos yet
Be the first to share your creation!